Urban brick and timber rubble base
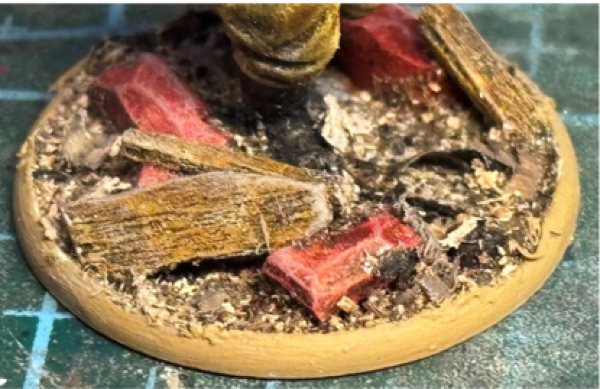
Every Guild keeps a long table for visiting makers — the kind of friends who wander in with paint on their sleeves and a clever trick to share. Today, one of our guest artisans has pulled up a stool to show us how they build the bones of an urban base: bricks, timber, rubble, and all the quiet storytelling that lives in the ground beneath a miniature’s feet.
Settle in beside the Bench. The lantern’s lit, the tools are ready, and the Guild is very glad to have another pair of hands in the workshop.
This is a tutorial for making the elements for an urban base. I will show you how to make bricks and timber elements which can be combined with any other basing materials of your choice.
Required materials and tools:
• Leftover sprue • Coffee stirring sticks
• Craft knife • Snips
• Glue Paints used:
• Matt black (Army Painter Fanatic)
• Ash Grey (Army Painter Fanatic)
• White (Vallejo Model Color)
• Bright Red (Army Painter Speed paint)
Part 1 - Making bricks:
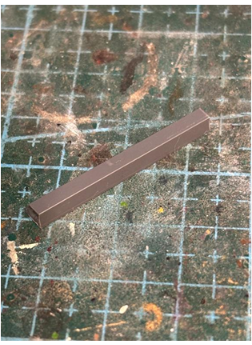
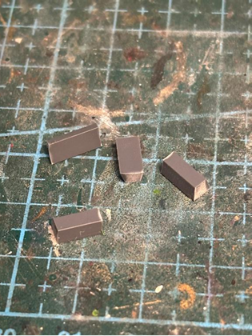
Step 1: Snip up your leftover sprue into small brick sized chunks, don’t worry about them being uniform, I aim to cut them around 5-7mm in length but you should cut them to the size you prefer.
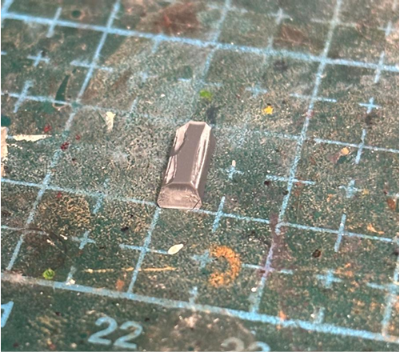
Step 2: Using a craft knife carefully trim the edges
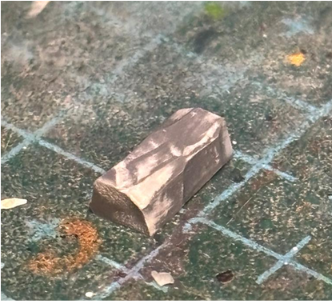
Step 3: Carve off the remaining smooth parts on 3 of the sides (leaving one side smooth will help it stick better when placed on a base)
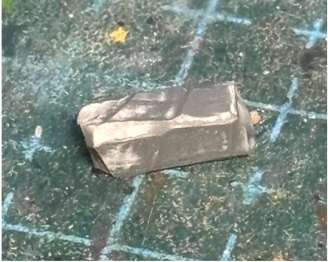
Step 4: Do the above steps for the edges
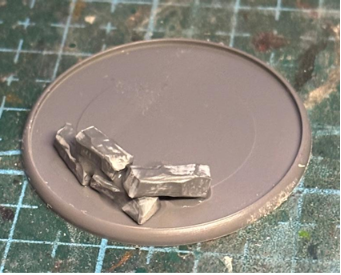
Step 5: Using your preferred glue (I’ve used Extra thin cement with sprue dissolved into it) stick the bricks to your base, in this example I’ve made a small wall with a toppled brick
Part 2 – Timber
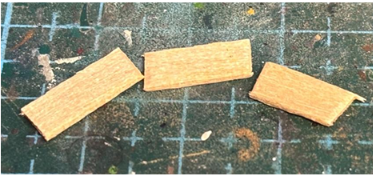
Step 1: Cut up a coffee stirrer stick into small parts, like the sprue bricks the length is not critical. I’ve used lengths about 1-2 cm in length.
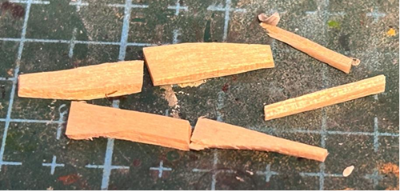
Step 2: Cut up the small parts to make them less regular to more resemble broken timber
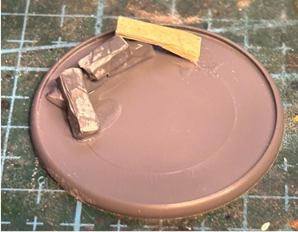
Step 3: Stick the timber onto your base (in the example I’ve stuck it onto one of the bricks
Part 3 – Painting
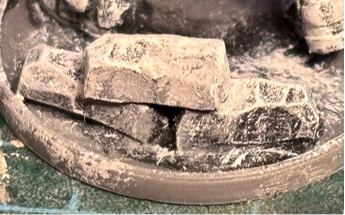
Step 1: Prep the base by using the slapchop method – Prime black, heavy drybrush grey then lightly drybrush White
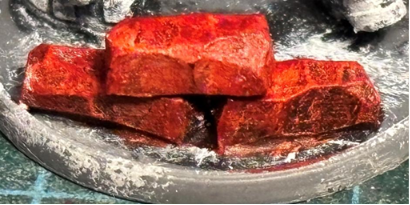
Step 2: Paint an even coat over the bricks of Bright Red speed paint
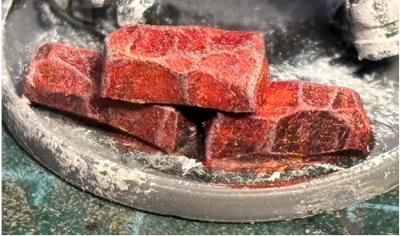
Step 3: Lightly drybrush Ash Grey to give the effect of dust
Part 4 – Finishing touches
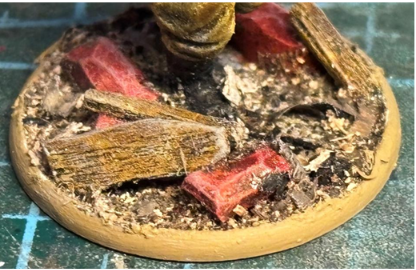
Paint any wood sections using your preferred colour, I’ve used Snakebite leather (Warhammer Paints) but you can use a darker colour if desired. To unify the look lightly drybrush the wood sections with Ash Grey as well. You can now finish off the rest of the base with any preferred basing products, this can be a base mix for greenery or burnt ash. Alternatively you could put mud on the base. In the example I have used Ashen Wastelands from Pemberly scenics.
When the dust settles and the tools are set to rest, we’re left with the quiet satisfaction of having learned beside another skilled pair of hands. The Guild keeps these moments close — the shared tricks, the borrowed wisdom, the way a single maker’s approach can shift how we see the ground beneath our own work. Our thanks to today’s visiting artisan for pulling up a stool and letting us watch their craft unfold.
Pull up a stool, traveller.
Tonight’s lantern has spoken; the next will glow for whichever small wonder steps out of the shadows to claim it.
Find this creator at: https://www.etsy.com/uk/shop/GryphonStoneDesigns


Rooted Stone → Chromatic Brush → Archivist’s Leaf → Guest Artisan →